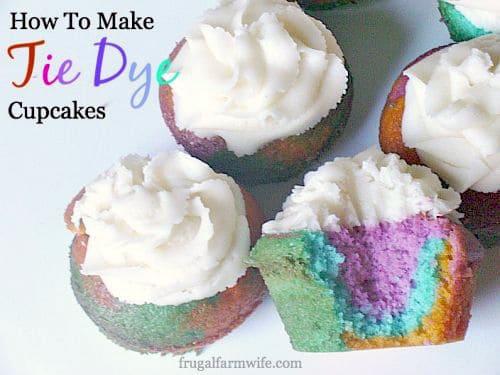
How To Make Tie-Dye Cupcakes
This recipe for how to make tie-dye cupcakes is perfect for adding some fun to any event, without adding a lot of work.
I have this thing with my kids’ birthdays. I want them to be special. I want them to scream, “WE WENT TO EXTRA EFFORT JUST FOR YOU!”.
But I don’t mean that in a “spend all the money” sort of way, and honestly, I don’t always have time to go all out on birthday party deco.
Not this summer, at least, what with two of my sisters, a close friend, and my dad getting married, plus Gabriel making work trips a lot (did I tell you he’s going to Argentina soon?!). Ugh, sometimes it’s all I can do to food on the kid’s plates!
Fortunately, stirring a little food coloring into cake batter doesn’t take much effort, but goes a long way toward making a festive atmosphere. Which makes these tie-dye cupcakes, paired with some really quick, healthy, no-churn ice cream, pretty much perfect.
I didn’t bother to color the icing – which, by the way, was leftover from making my sister’s wedding cake – and I really think it provided just the right amount of pizzazz. Not too much color, but not too little. To quote Goldilocks, They were just right!
How To Make Tie-Dye Cupcakes
First, divide your cake batter into three or more separate bowls. For those of us who bake gluten-free, this gluten-free cake recipe is pretty awesome.
Next, add food coloring until your desired shades are reached. I usually use Wilton Gel Colors.
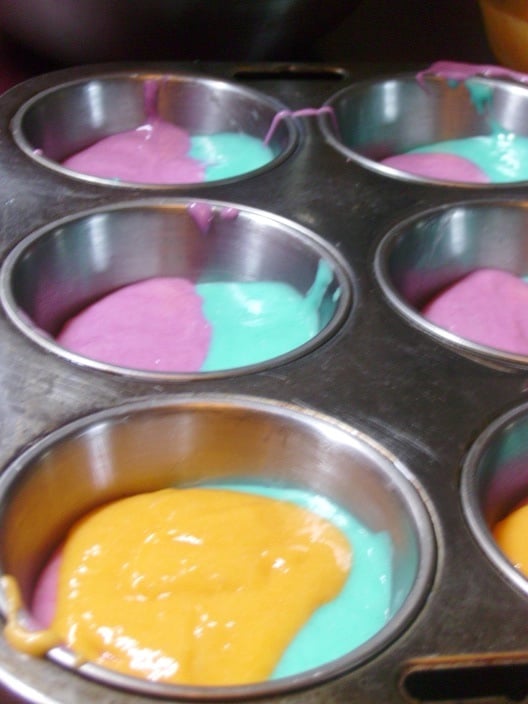
Add a spoonful of batter to your prepared (either greased or lined with cupcake papers) cupcake pans.
You want about three Tablespoons of total batter per cupcake, so if you’re using three colors, add one tablespoon. Less if you’re using four or more colors.
Hold the muffin pan at an angle to keep the batter from covering the entire bottom of the pan.
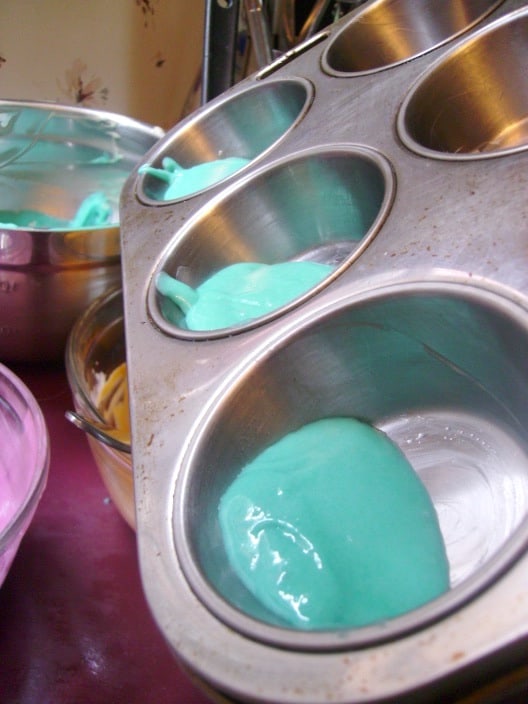
Add a spoonful of the next color beside the first color.
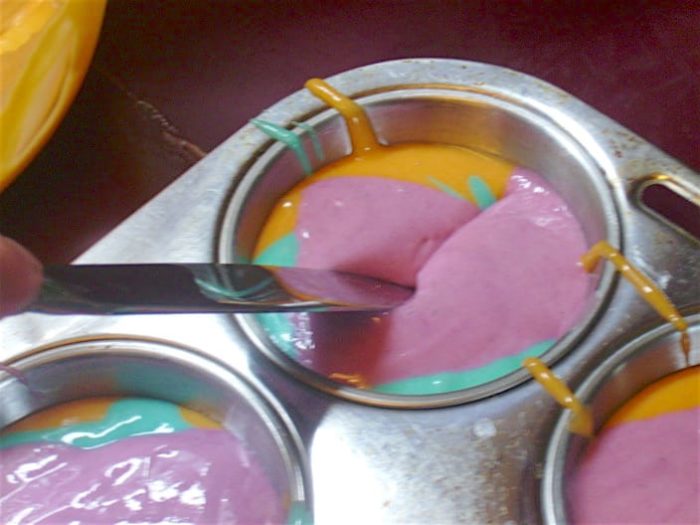
Set the cupcake pan down flat, and add your third color on top.
Use a butter knife to drag along the bottom of each cupcake with a hooking motion to bring some of the bottom colors up to the top.
When you’re done, they might look something like this:
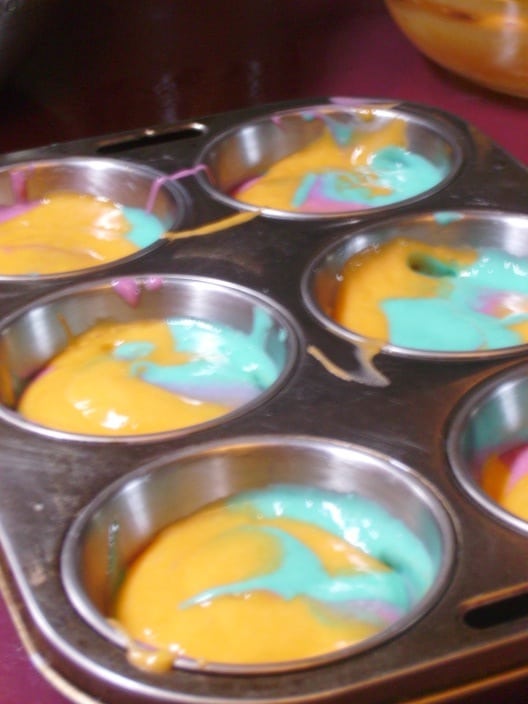
Be careful not to stir them too much, or you’ll just end up with one, probably not so fantastic, color.
You can bake and ice as directed by your recipe, but just between you and me, if you turn your oven down to 325º, the cupcakes will rise more evenly and not get that peaked dome in the center that you have to trim off.
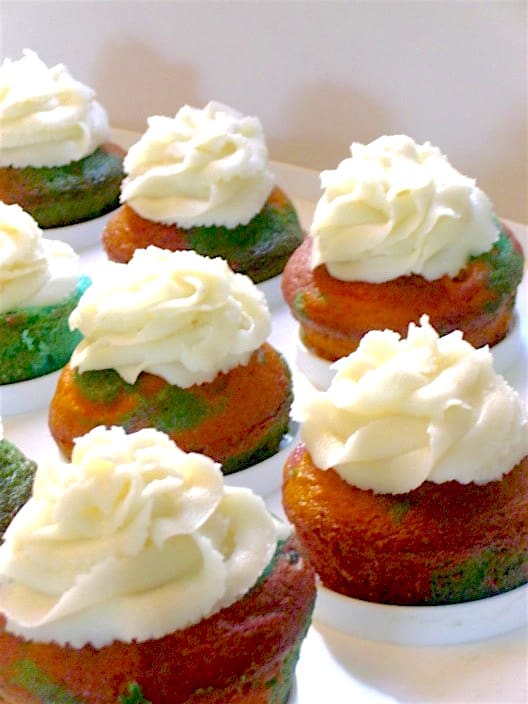
I love how the colors look kind of muted on the outside, and then you open them up, and boom! Look at all that vibrancy!
Get Your Garden Cheat Sheets!

Want to know exactly when, where, and how to plant your vegetables? Sign up to get our FREE companion planting guide, and garden planting cheat sheet printable.